Replacing a dryer thermal fuse is a straightforward repair in most models.
If testing confirms the fuse has no continuity, replacement is required. For a full overview of symptoms and diagnosis, see Dryer Thermal Fuse: Complete Guide (Symptoms, Testing & Replacement).
Tools You’ll Need
-
Screwdriver (Phillips or 1/4-inch nut driver)
-
Replacement thermal fuse (matching part number if possible)
-
Work gloves (optional)
Step 1: Disconnect Power
Unplug the dryer from the wall outlet.
If the dryer is hardwired, switch off the breaker at the electrical panel.
Never work on the dryer while it is connected to power.
Step 2: Access the Thermal Fuse
Remove the rear panel (most common design), or the lower front panel on front-access models.
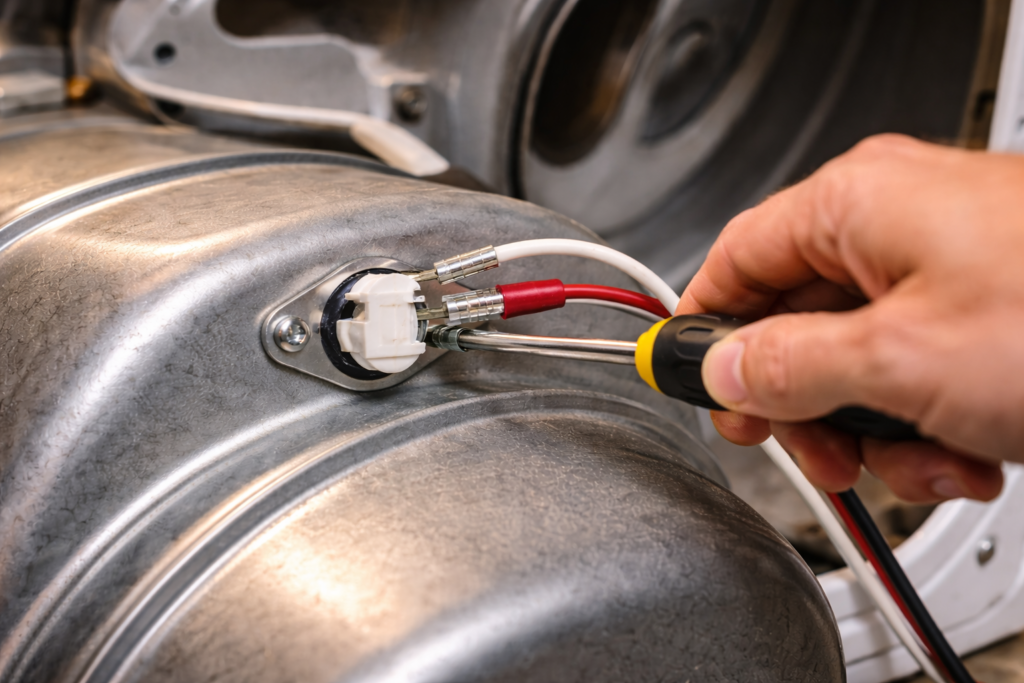
Locate the thermal fuse on the blower housing or exhaust duct.
It is typically a small white plastic component with two wires attached.
Step 3: Disconnect the Wires
Pull the two wire connectors off the fuse terminals.
Grip the connector, not the wire itself, to avoid damage.
Step 4: Remove the Old Fuse
Use a screwdriver or nut driver to remove the mounting screw(s).
Take the fuse off the housing.
Step 5: Install the New Fuse
Position the new fuse in the same orientation as the old one.
Secure it with the mounting screw.
Reconnect the two wires firmly to the terminals.
Step 6: Reassemble the Dryer
Reinstall the access panel.
Make sure all screws are tightened properly.
Step 7: Restore Power and Test
Plug the dryer back in or turn the breaker back on.
Run a short cycle to confirm the dryer starts and heats properly.
Important: Check Airflow Before Finishing
A blown thermal fuse is usually caused by overheating.
Before considering the repair complete, inspect:
-
Lint filter
-
Vent hose
-
Exterior vent hood
-
Duct behind the dryer
If airflow is restricted, the new fuse may blow again.