Replacing a thermal fuse in a GE dryer is a common fix when the dryer stops heating or will not start.
Access and layout may differ slightly from Whirlpool-style models, but the repair is still straightforward.
For a complete overview of testing and general replacement steps, see Dryer Thermal Fuse: Complete Guide (Symptoms, Testing & Replacement).
Common Symptoms in GE Dryers
A blown thermal fuse in a GE dryer may cause:
-
Dryer will not start
-
Dryer runs but produces no heat
-
Dryer shuts off mid-cycle
Always confirm with a multimeter before replacing the fuse.
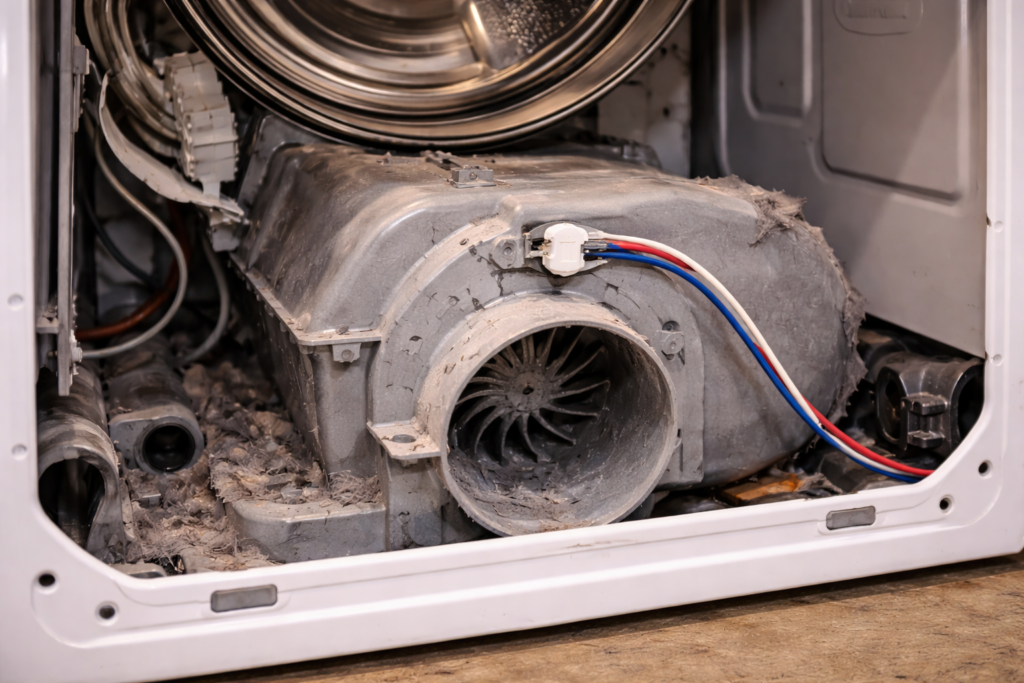
Where the Thermal Fuse Is Located
In many GE dryers, the thermal fuse is mounted on:
-
The blower housing
-
The exhaust duct
-
Near the heating element housing
Access may require removing the rear panel or the front lower access panel, depending on the model.
Check your model number if unsure.
Step-by-Step Replacement
-
Unplug the dryer.
-
Remove the appropriate access panel.
-
Locate the thermal fuse along the airflow path.
-
Disconnect the two wire connectors.
-
Remove the mounting screw(s).
-
Install the new fuse in the same position.
-
Reconnect the wires securely.
-
Reinstall the access panel.
Restore power and test the dryer.
Airflow Check Is Essential
GE dryers commonly blow thermal fuses due to restricted venting.
Before finishing the repair, inspect:
-
Lint filter
-
Vent hose
-
Ducting behind the dryer
-
Exterior vent hood
Clearing airflow restrictions helps prevent repeat failures.
Confirming the Correct Part
GE dryers may use different fuse styles depending on the model.
Before purchasing a replacement, confirm:
-
Model number
-
Mounting orientation
-
Temperature rating
-
Connector type
Installing the wrong fuse can result in continued problems.
For a full overview of dryer thermal fuse problems, symptoms, testing, and replacement, see the Dryer Thermal Fuse Complete Guide.
## Related Dryer Thermal Fuse Guides
Best Replacement Dryer Thermal Fuses (Universal Options)